The other day I was at one of the large big box retailers and found a cute little Halloween sign. It was inexpensive ($4.44), and I grabbed a small string of purple battery-operated LED lights for S&G’s. (OK, it was really because you can never have too many strings of purple battery-operated LED lights lying around, amIright?).
Anyhoo, when I got home I showed the sign to a friend and the brain-storm commenced, and I started telling him my ideas for enhancing it and making it unique. At that point I was accused of making work out of anything. I’ll take it. I readily admit that taking things and making them my own is fun.
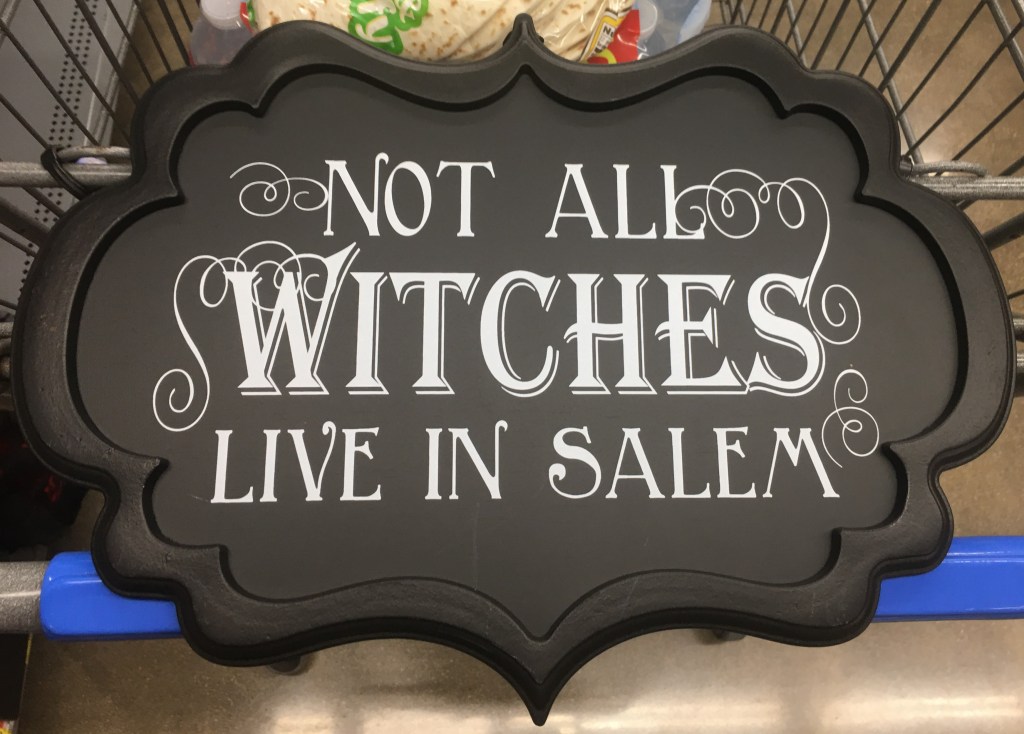
The project: this is the sign before I started making changes. Not too drastic, just thought of adding the lights, and maybe painting it a bit.
The actual sign is held in the frame by keepers that can be released (held in by small phillips-head screws) and spin the keepers out of the way.
Next I made a pattern of the sign and used it to approximate just where I wanted the string of lights to go on the actual sign. My idea was to get the lights to go through the body of the sign without damaging it too much, hence make a pattern and work from it.
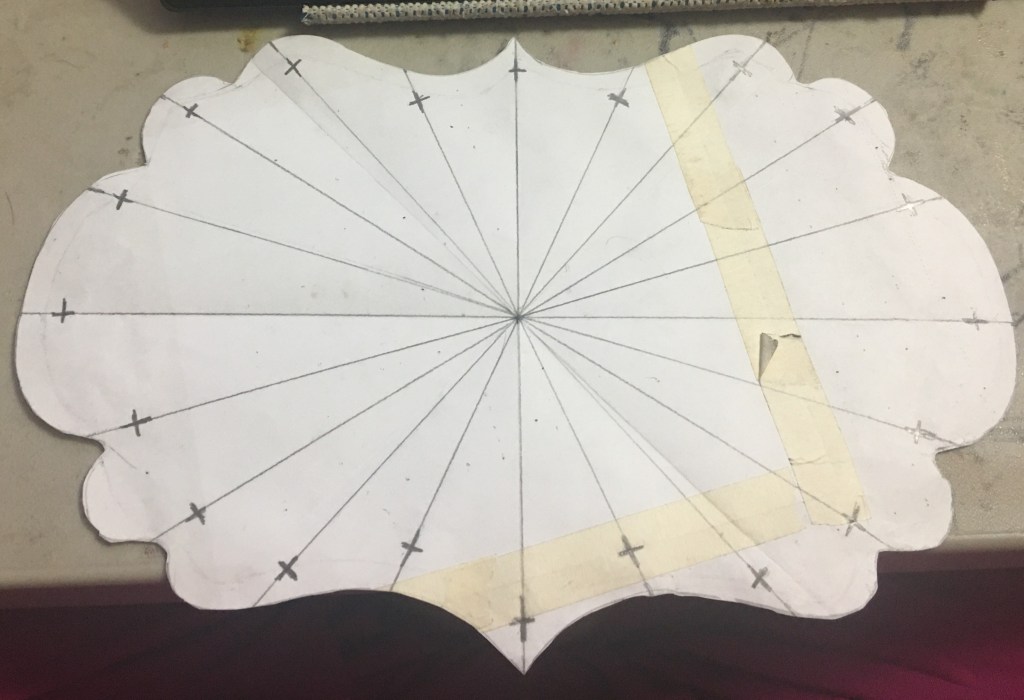
First I made the pattern from the actual size of the insert, and realized that I needed to work with just the area of the sign that would be showing. I then put it in the frame with the sign behind it (for stability) and traced around the inside of the frame and trimmed the pattern down. I then made the center lines (vertical and horizontal) and divided each quadrant into sections. Figuring that there are twenty lights in the string, I needed twenty points. It ended up to be between 15 – 18 degrees (90 degree section divided by five) and I have one of the cheapest protractors around, so there was a LOT of guesswork in making the lines. I figured out one quadrant, made the lines cross the center point, folded it in half vertically, then traced the points to the other sections, and VIOLA! Lots of lines! (fun stuff let me tell ya.)
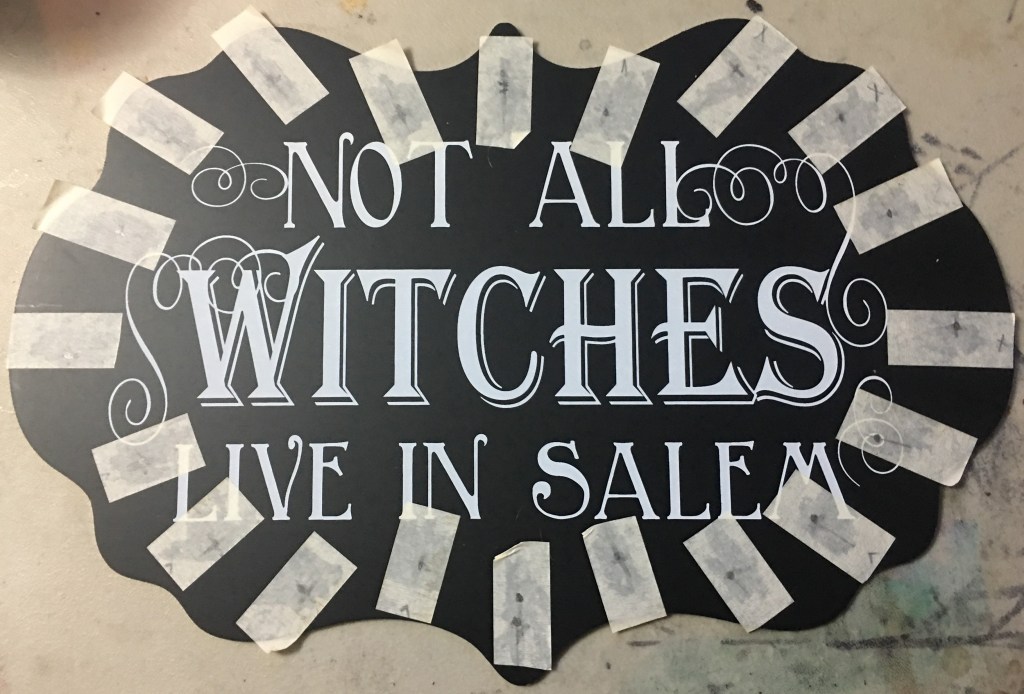
From there I measured in 1/2″ on each line, made dark “x” marks, put masking tape on the original sign and traced (by pressure) the marks onto the masking tape. At this point I could see exactly where I needed to drill the holes for the lights. I also put the sign back in the frame to make sure all the holes would be where they needed to be and looked right. The masking tape also helps to prevent damage to the front of the sign while drilling the holes, which I drilled from the front. After drilling the holes, carefully peel the masking tape off the sign, and you’re ready to insert the lights. At this point I should note that I went tried three different drill sizes before finding the one that the lights would fit in.
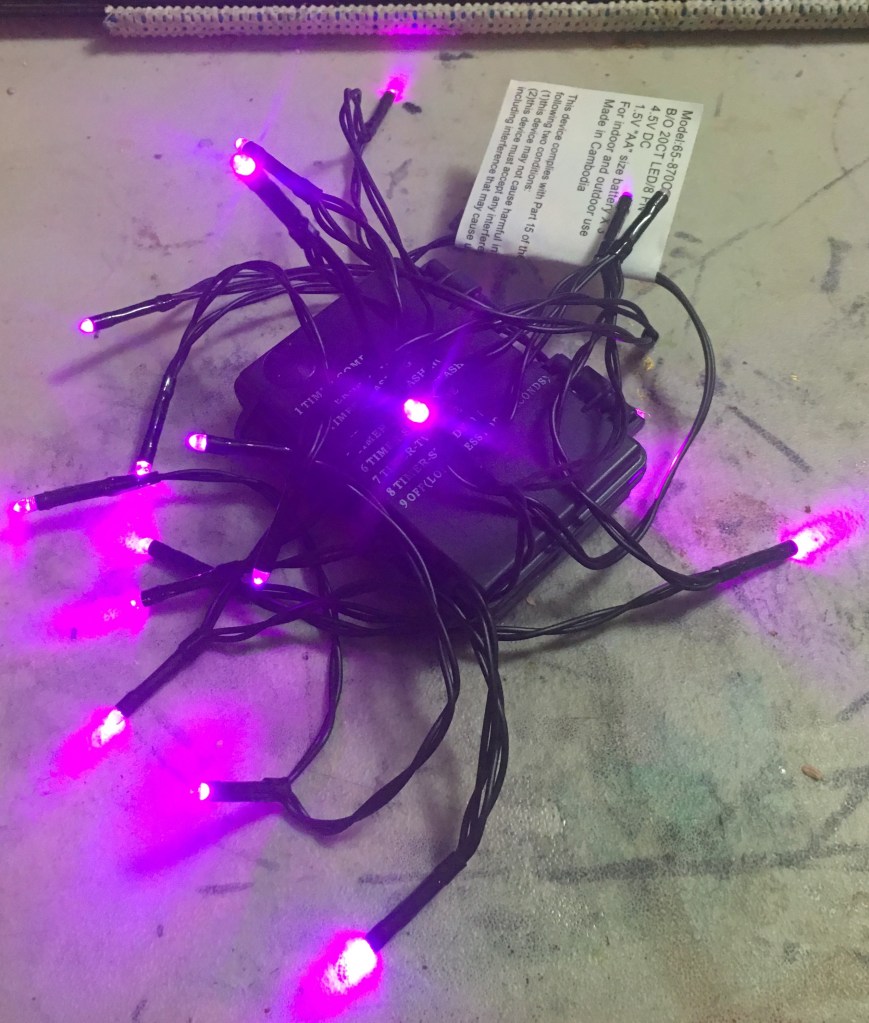
These are the lights that I bought with the picture, before I brainstormed just what I was going to do with them. When I got to the point of drilling the holes, I approximated which drill to use by holding a light up by a drill to see if they were of similar diameter. I started with a smaller size and worked my way up, because you can always make the hole larger, enough said.
I still have a bit to go on the sign: figuring out how to keep the lights in the sign (probably going to use clear silicon glue), how to attach the light box to the back of the sign (not too sure on that one yet), and painting around the frame (should I add something to the edge besides paint?), and how to hang it with a huge light box behind it. These and other issues may still arise, but I’ll cross that bridge when I get to it.
Happy Crafting!
